
Introduction
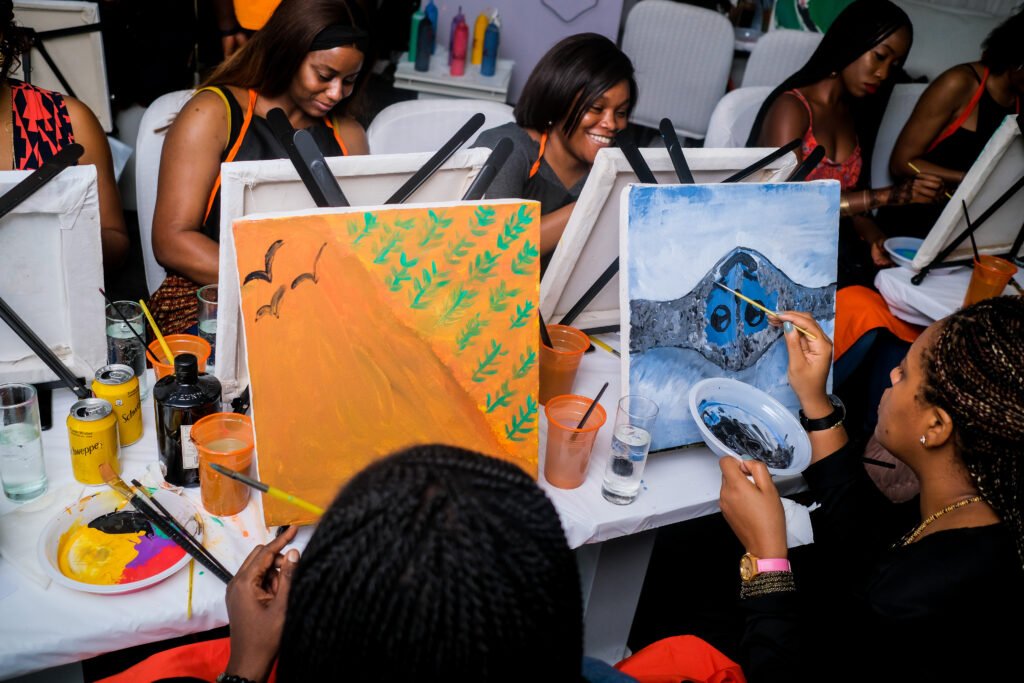
Sip and paint sessions, a delightful fusion of art, creativity, and social interaction, have become a favorite pastime for art enthusiasts and beginners alike. While these events offer a fantastic opportunity to unwind, socialize, and explore your artistic side, mastering certain techniques can take your paintings to the next level. In this blog, we’ll dive into the mesmerizing world of color blending, one of the essential techniques in sip and paint, and learn how to create captivating, harmonious artworks.
Understanding Color Theory
Before we delve into the practical aspects of blending colors, let’s take a moment to understand color theory. Color theory is the science and art of using color effectively in art and design. It explores how colors interact with each other and how they can be combined to create a visually appealing composition.
In the context of sip and paint, a basic understanding of color theory will help you create paintings with balanced and harmonious color palettes. The primary elements of color theory include:
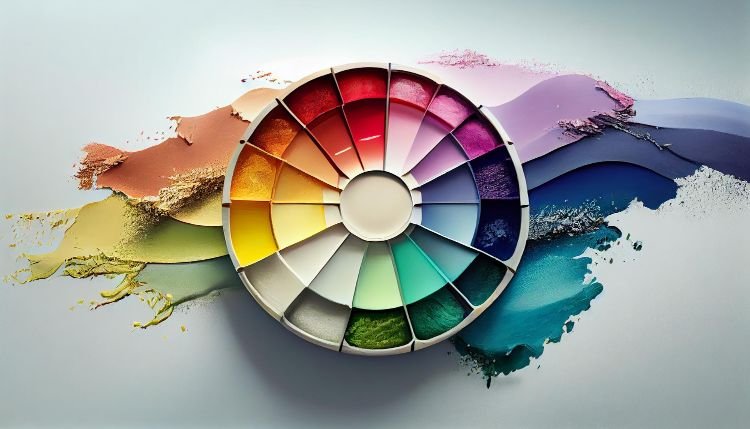
- Color Wheel: The color wheel is a visual representation of the primary colors (red, blue, yellow), secondary colors (orange, green, purple), and intermediate or tertiary colors (colors created by mixing a primary color with a secondary color).
- Color Harmony: Color harmony refers to the pleasing combination of colors in a painting. Some common color harmonies include complementary colors (opposite colors on the color wheel), analogous colors (colors that are adjacent to each other on the wheel), and triadic colors (colors equidistant from each other on the wheel).
Blending Colors in Sip and Paint
Color blending is a fundamental technique in sip and paint, allowing artists to transition smoothly between colors and create stunning gradients. Here’s a step-by-step guide on how to master color blending in your sip and paint sessions:
1. Gather Your Supplies:
- Acrylic paints: Acrylics are a popular choice for sip and paint due to their fast drying time and ease of blending.
- Paintbrushes: Ensure you have a variety of brush sizes, including small, medium, and large brushes for different blending needs.
- Palette: Use a palette to mix and blend your colors. You can use a traditional palette, a palette paper pad, or even a disposable plate.
2. Start with the Basics:
- Begin with a clean canvas, and select the primary colors you want to blend. For a basic example, let’s choose blue and yellow to create a green gradient.
3. Load Your Brushes:
- Dip one brush into your first color (blue in this case) and the other into your second color (yellow).
4. Mixing on the Palette:
- On your palette, gently mix the two colors in the middle, creating a transition area with a blend of blue and yellow. The amount of each color you mix will determine the resulting shade of green.
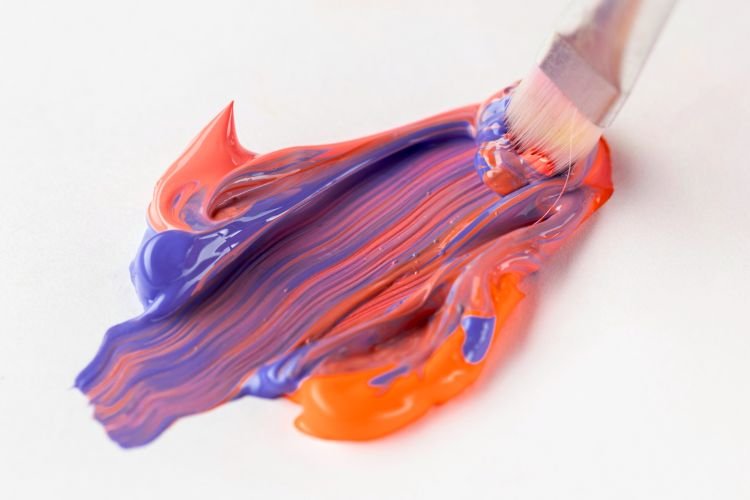
5. The Blending Stroke:
- Place your brush with blue paint on one side of the mixed area and your brush with yellow paint on the other side. Apply gentle pressure as you move the brushes toward each other, allowing the colors to blend naturally in the middle.
6. Smooth Transitions:
- Repeat the blending stroke as needed until you achieve a seamless transition from blue to yellow in the middle, creating a beautiful shade of green.
7. Practice Makes Perfect:
- Don’t be discouraged if your first attempts aren’t flawless. Like any skill, blending takes practice. Experiment with different colors and brush strokes to enhance your blending techniques.
Color Blending Techniques
Now that you’ve grasped the basic steps for color blending, let’s explore some additional techniques to add depth and interest to your sip and paint creations:
1. Wet-on-Wet Blending:
- Apply wet paint to an already wet surface. This technique creates smooth transitions and soft edges.
2. Layering:
- Apply multiple layers of paint to achieve richer, more complex blends. Allow each layer to dry before adding the next.
3. Dry Brushing:
- Use a nearly dry brush to create textured, uneven blends. This technique is excellent for creating rough or weathered surfaces in your paintings.
4. Glazing:
- Apply a thin, translucent layer of paint over a dry base layer to create subtle color shifts and luminosity.
5. Palette Knife Blending:
- Use a palette knife to mix and blend colors directly on the canvas. This technique can result in bold, expressive blends.
Conclusion
Color blending is a vital technique that brings depth, dimension, and life to your sip and paint creations. Understanding the basics of color theory, selecting the right supplies, and practicing various blending techniques can empower you to create captivating artworks that reflect your unique style and vision.
So, the next time you attend a sip and paint session, embrace the art of color blending with confidence. Whether you’re a beginner or an experienced artist, mastering this technique will open up a world of creative possibilities and elevate your sip and paint experience to new heights. Cheers to blending colors and unleashing your artistic flair!